
How to use Ideogram for print-on-demand

Take a design from its first prompt to a file you can send to a printer. This practical workflow covers T-shirts, tote bags, stickers, mugs, and art prints, with prompts you can adapt and the checks that matter at print size.


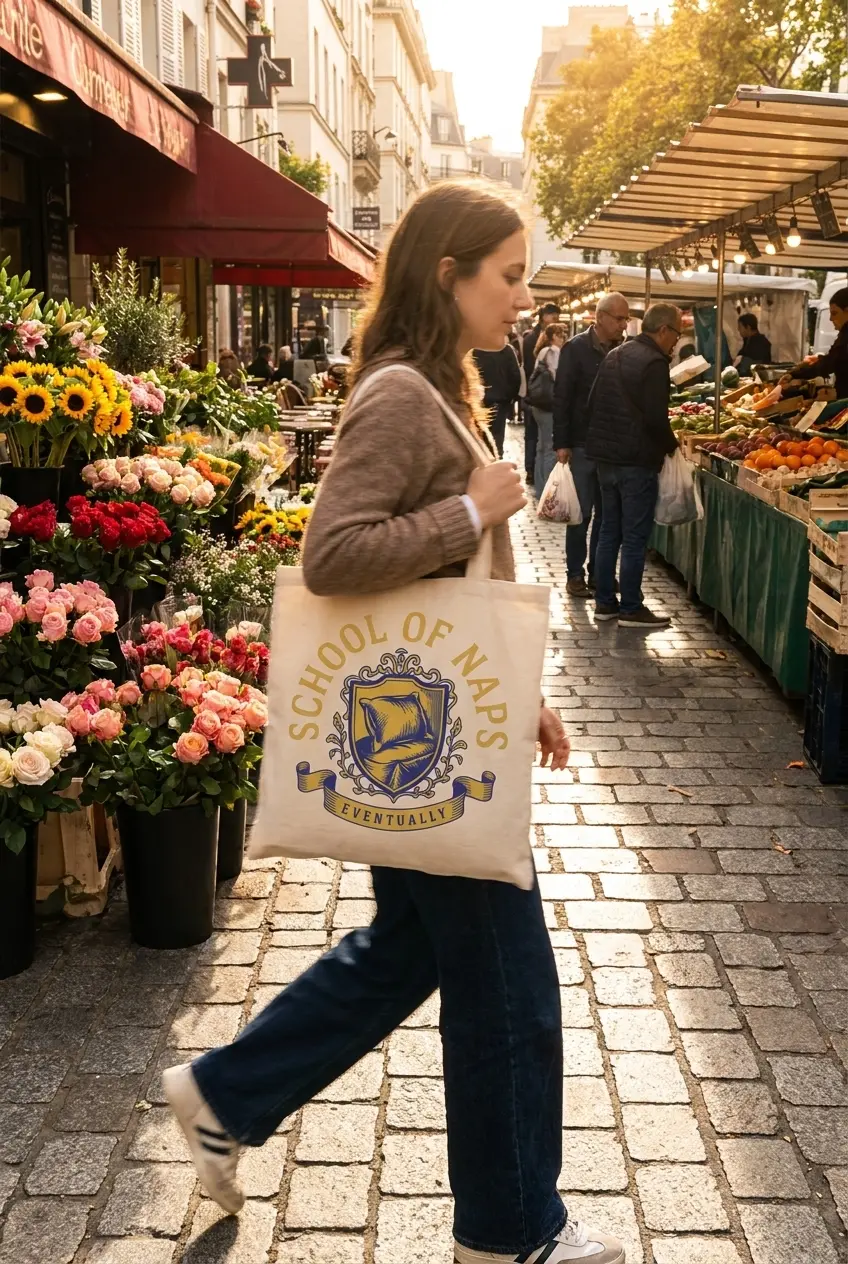

A good print-on-demand design has to work twice: first as an idea, then as a physical object. A clever illustration can still lose its lettering on a small sticker. A beautiful image can still be too small for the front of a hoodie.
Ideogram brings image generation, text, editing, transparency, and upscaling into that process. The useful workflow is to establish the product's requirements, develop the artwork, and prepare a separate production file for each format. This guide walks through that sequence, including where to look when a result needs work.
The workflow at a glance
- 01 Plan Choose a product and its print template. Step 1
- 02 Generate Generate a few focused concepts. Steps 2 to 4
- 03 Refine Refine the strongest design and check every word. Step 5
- 04 Produce Match the pixels to the print area and export the right file. Steps 6 and 7
- 05 Proof Inspect the file, order a sample, and turn the approved design into a repeatable brief. Steps 8 and 9
Step 1: Start with the product and its print area
Download the template or read the file requirements for the exact product you plan to sell. Record the print area's dimensions, accepted file types, recommended pixel density, color requirements, and any bleed or safe-area instructions. A shirt front, sleeve print, and mug wrap each need their own layout.
Decide how the artwork should meet the material. A freestanding chest graphic often benefits from transparency so the fabric shows around it. An art print may need a complete background that reaches the trim edge. For a sticker, leave room for the provider's required border and cut line.
-
T-shirts and hoodies
Establish the placement, garment color, and usable print area.
Chest print area
-
Totes
Use a composition that stays recognizable when the fabric creases.
Panel print area
-
Stickers
Prioritize a clear silhouette and lettering that survives the final size.
Cut line
-
Mugs
Check the wrap dimensions and where the handle interrupts the design.
Wrap and handle
-
Posters
Choose the final proportions and allow for the specified trim and bleed.
Trim, bleed, and safe area
Keep a short design brief beside the template: who the product is for, the main subject, the exact wording, the palette, and the intended mood. “A gardening shirt with a patient tortoise and one readable phrase” gives you a clearer starting point than “a shirt everyone will love.”
Step 2: Choose a generation workflow
Open Ideogram's Image app and decide whether the first result needs an opaque background or a transparent one. The print-on-demand overview shows examples of the illustration, editing, and mockup workflows.
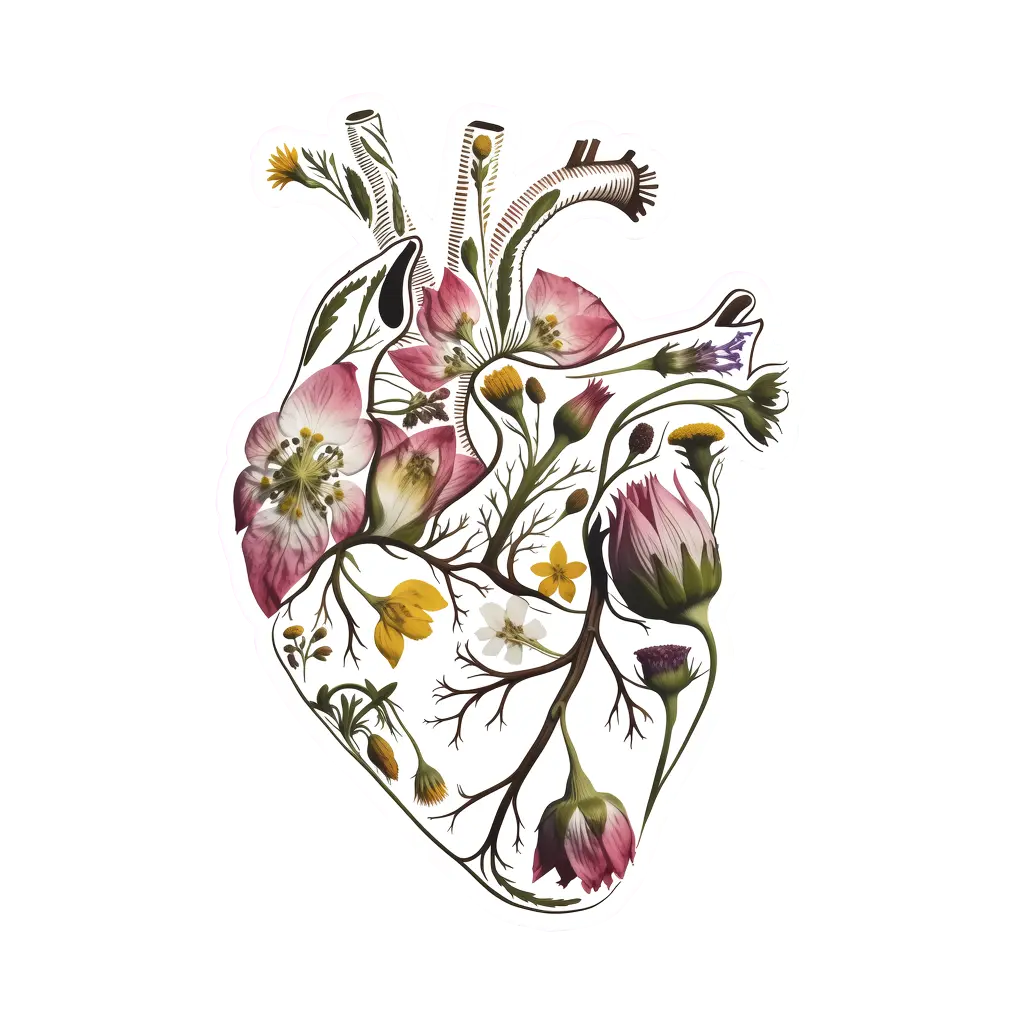

For artwork with a transparent background
A simple starting point is to choose Auto and include “transparent background” in the prompt. If you select a model yourself, the current transparency guide lists Ideogram 4.0 Transparent and Ideogram 3.0 Transparent for native transparent output. The standard 4.5, 4.0, and 3.0 models do not have a transparency setting; adding those words does not give every manually selected model an alpha channel.
For an image you already have, use Remove BG or the Background Remover app. Inspect thin stems, hair, small enclosed spaces, and soft edges afterwards. The background removal guide explains the current controls and credit requirements.
For posters and other full-background designs
Choose a model and an aspect ratio that suit the finished layout. Describe the full scene or background in the prompt. A portrait poster needs a different composition from a square sticker, even if they share the same subject.
Check the available image settings for the model you use. Aspect ratios and generation sizes differ by model, and attaching references can change the controls. Keep the working resolution modest while exploring; prepare a larger final file once the composition is settled.
Step 3: Write a prompt that describes the actual design
For a standalone graphic, describe the artwork itself. Asking for “a T-shirt with a tortoise design” can lead to a picture of a shirt. Save the product photograph for the mockup stage. Start with the subject and action, then add the few decisions that make this design distinct.
A useful prompt structure
- Subject and action
A small tortoise carrying a flourishing garden on its shell
- Exact text in quotation marks
the words "GROW AT YOUR OWN PACE" in bold curved lettering
- Layout
Above it
Centered
generous space around the design
- Palette
Three colors: forest green, warm cream, terracotta
- Visual style
vintage botanical illustration
- Background treatment
transparent background
For example, give the tortoise one clear role: carrying a garden. Give the wording one clear position: curved above the illustration. Name the colors instead of asking for an unspecified “beautiful palette.” Choose one visual direction, such as a botanical illustration, rather than several competing styles.
Put important wording early and keep it short. Specify whether it should be bold, rounded, condensed, hand-lettered, or arranged on two lines. The text prompting guide has more examples of describing lettering and its position.
Generate a small set of alternatives and compare them at roughly the size the artwork will appear on the product. Select for a clear silhouette, readable type, balanced spacing, and a focal point that survives a quick glance. Keep the most useful prompt with the selected image so later revisions start from a known brief.
Step 4: Five print-on-demand prompts to adapt
These prompts are starting briefs, not a promise of a particular output. Choose the appropriate model and settings, then revise the result for your product. Replace phrases and subjects with your own ideas rather than making a catalog of near-identical designs.
A gardening T-shirt
A portrait composition with one short line of text.
A small tortoise carrying a flourishing garden on its shell. Above it, the words "GROW AT YOUR OWN PACE" in bold curved lettering. Three colors: forest green, warm cream, terracotta. Centered vintage botanical illustration, generous space around the design, transparent background.
Before printing
- Check the spaces between letters and the smallest leaves.
- For a dark shirt, make sure the lettering stays visible against the fabric.
A coffee-themed tote bag
A simple emblem that still reads when the bag folds.
An oversized enamel coffee mug with a tiny sunrise reflected in the coffee. The words "A SLOWER MORNING" beneath the mug in chunky hand lettering. Espresso brown, warm ivory, muted orange. Compact flat illustration with thick contours, transparent background.
Before printing
- Keep the lettering away from the bottom seam.
- Compare the brown and ivory against the actual tote color before choosing a variant.
A mushroom sticker
A compact silhouette with enough room for a printer's cut line.
A cheerful red mushroom sheltering a tiny sleeping snail beneath its cap, cream spots and moss-green leaves, bold continuous outer silhouette, simple flat shapes, centered sticker illustration, transparent background.
Before printing
- Inspect the silhouette at the intended sticker size.
- Add a cut line using your provider's template or tools if the provider requires one.
A woodland art print
An edge-to-edge image rather than a transparent cutout.
A quiet woodland clearing at first light, a red fox resting beside pale wildflowers, soft mist between tall trees, warm rust and sage green with pale golden light, vertical composition, full-bleed gouache illustration, no lettering.
Before printing
- Use the poster's proportions and bleed template.
- Keep the fox and important details inside the safe area so trimming does not remove them.
A wraparound mug illustration
A wide scene with the focal point away from the handle.
A line of small wildflowers growing across a wide horizontal composition, a bumblebee hovering above the central bloom, ink-blue outlines with butter yellow and leaf-green accents, clean botanical illustration with open space at both ends, transparent background.
Before printing
- Fit the result to the mug template.
- Check both handle-side edges and the printable area; a wide image alone does not establish the correct wrap size.
Start from one of these prompts
Copy any prompt above and try it in Ideogram.
Step 5: Refine the text, edges, and composition
Pick the strongest concept and make targeted changes. “Move the phrase above the tortoise and make the letters heavier” is easier to assess than a request to improve everything. Compare each edit with the previous version so a useful change does not hide a new problem elsewhere.
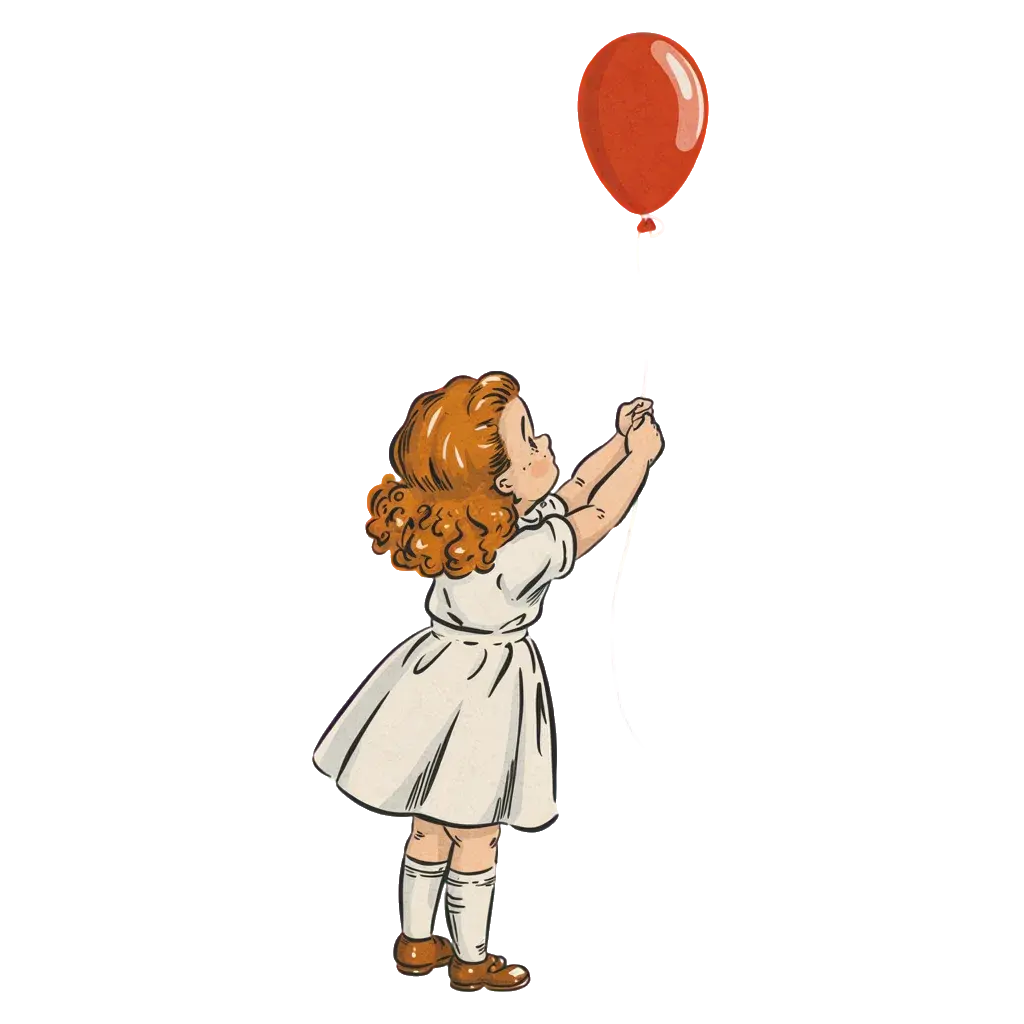
Original
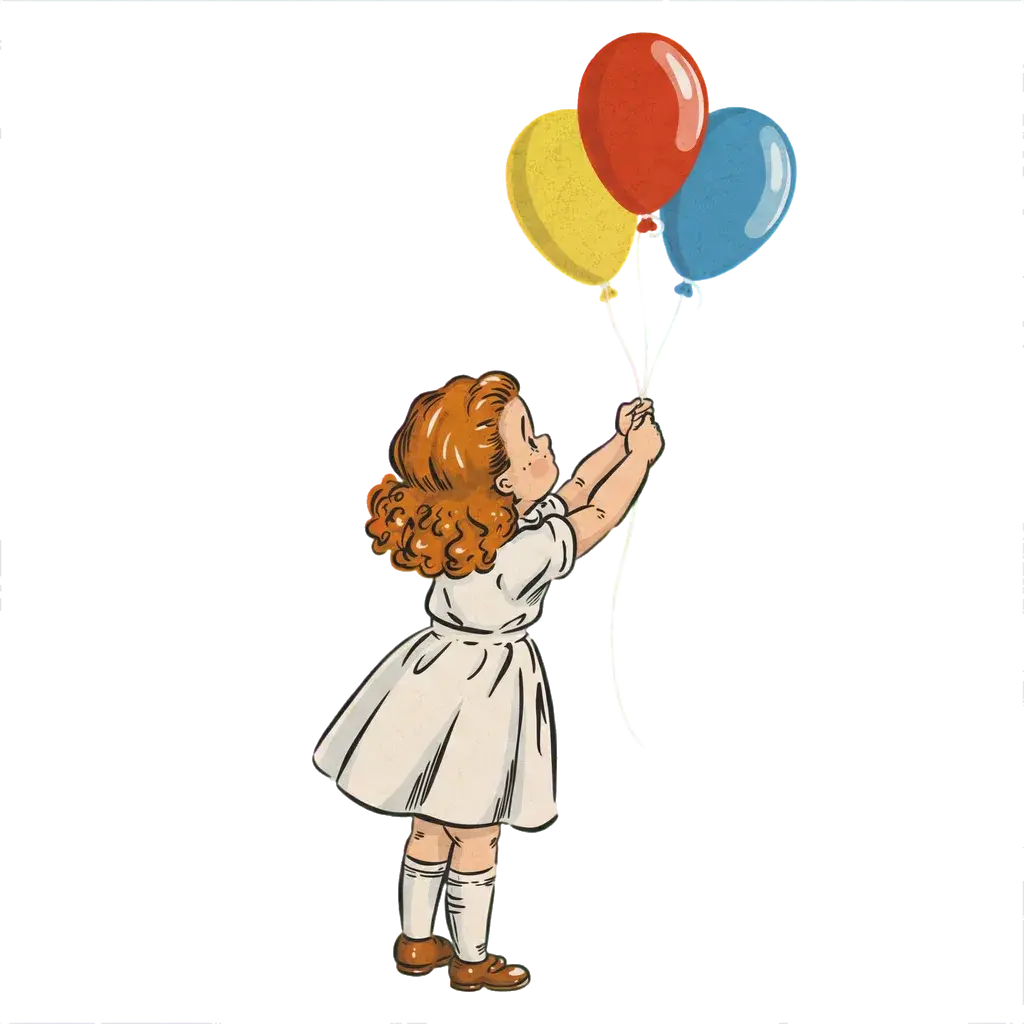
Add two more balloons in yellow and blue
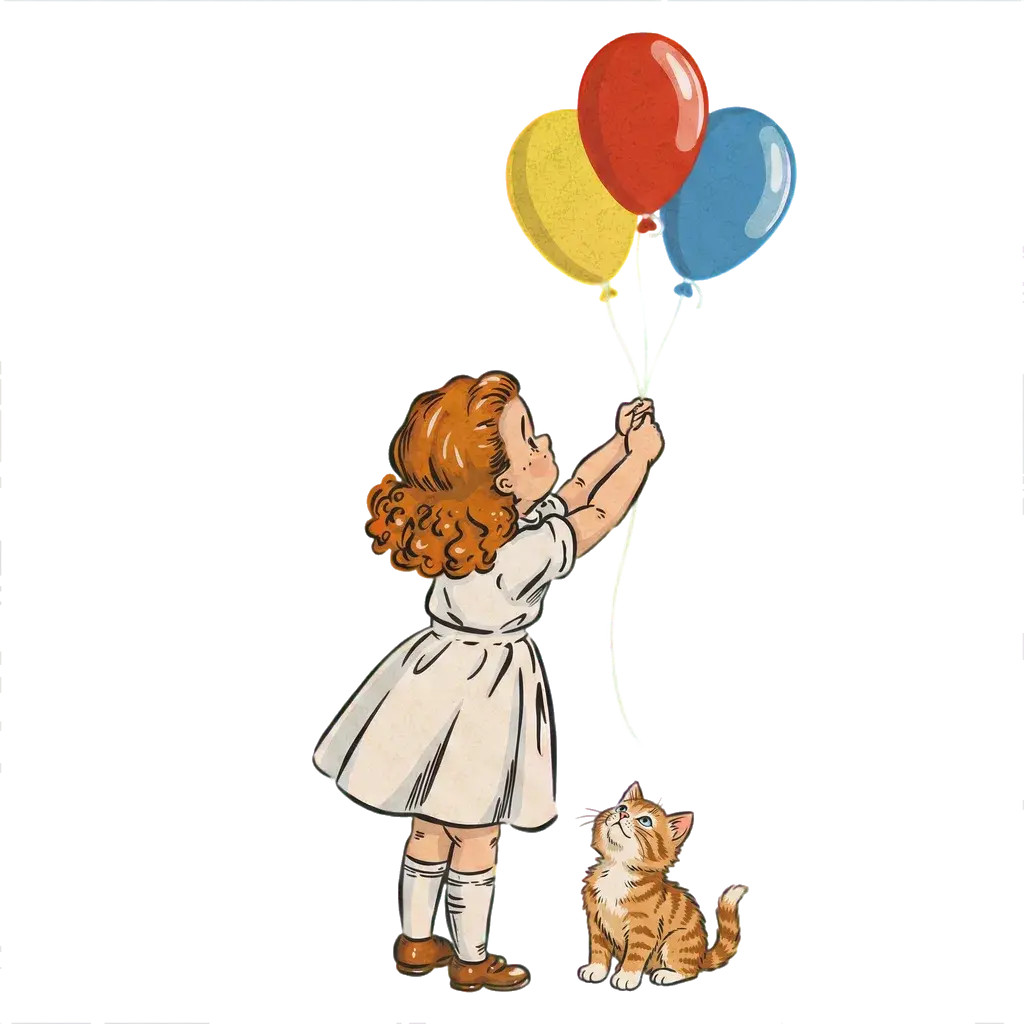
Add a tiny kitten at her feet
Read the lettering as carefully as the image
Check spelling, repeated letters, punctuation, line breaks, and whether two characters have merged. Then reduce the image to the intended physical size. Decorative type that reads beautifully on a monitor may become difficult to read across the front of a small mug.
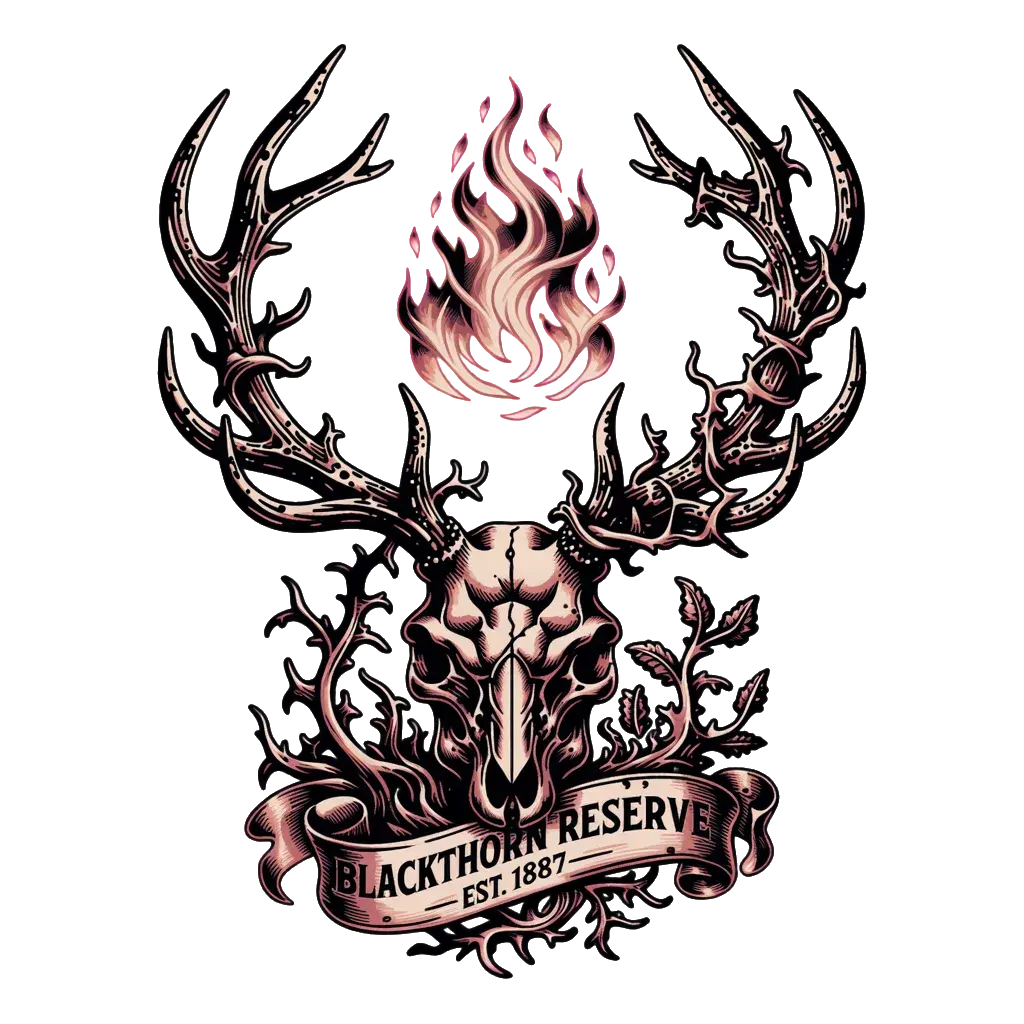
Original
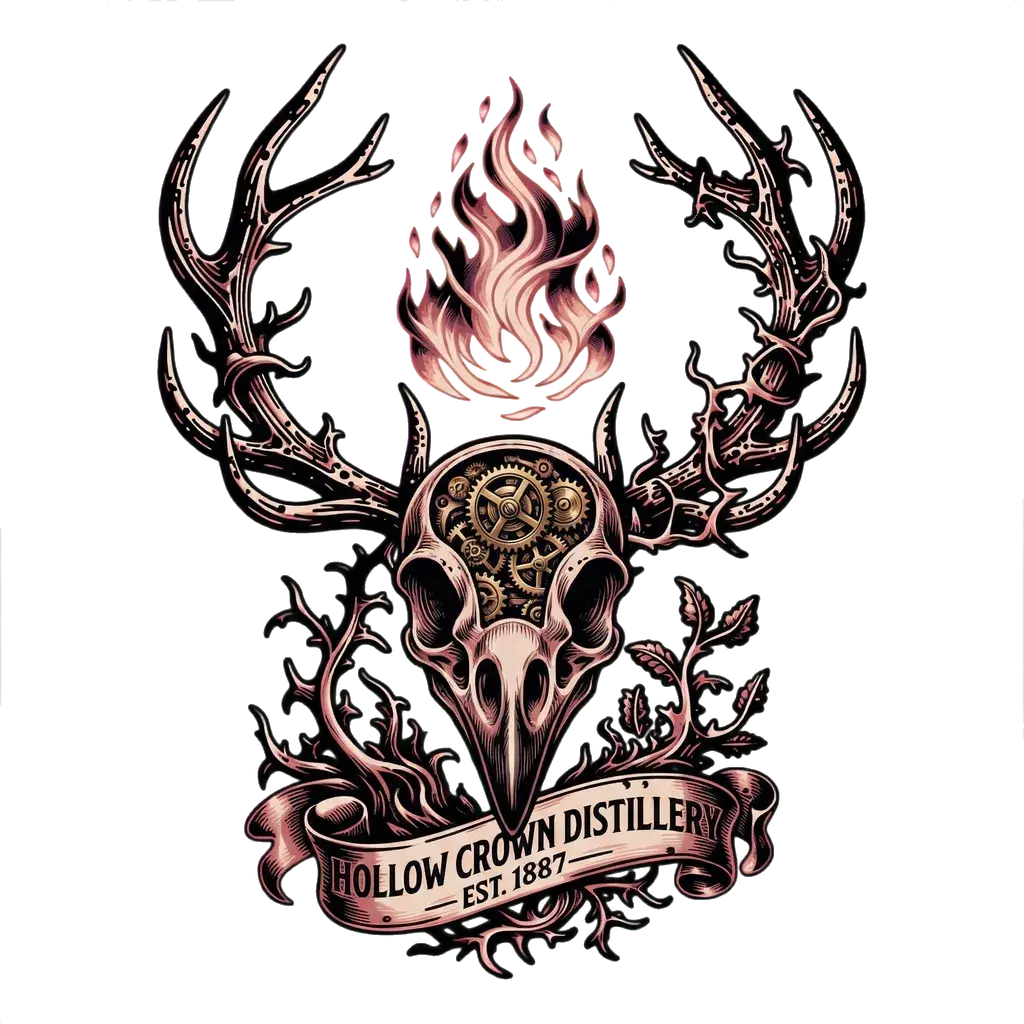
After Swap stag skull for raven skull with clockwork gears
When you need precise control, use text layers in Studio. Download the chosen image, open More → Studio, and upload it there. The Studio guide explains how to start a canvas and use AI edit. Text layers let you adjust wording, font, size, color, and alignment. Layerize text can reconstruct detected lettering as editable layers, but it is a beta feature and decorative text may need manual correction. The text and layers guide explains the current workflow, including the available font library.
Inspect the silhouette and the empty spaces
Look inside letter counters, between leaves, around whiskers, and beneath any soft shadow. Remove accidental specks and check that fine lines do not disappear at the final size. A limited palette can make a collection easier to coordinate, but the number of colors alone does not establish compatibility with a printing process.
Review transparent artwork against light and dark backgrounds. A cream detail that works on a navy shirt may vanish on a natural tote. Make a separate color version when the material requires it, and inspect the edges again after editing.
Step 6: Calculate the pixels your print needs
Image dimensions tell you how many pixels you have. Print dimensions tell you how large those pixels will appear. Start with your provider's required pixel dimensions when they supply them. If the instructions instead give inches and a target pixels per inch, calculate each side separately.
Print width in inches × target PPI = required pixel width
Print height in inches × target PPI = required pixel height
Example: 12 × 300 = 3,600 pixels; 16 × 300 = 4,800 pixels.
Pixel calculator
Required pixels
Portrait, 3:4
Measure the visible artwork, not only the canvas around it.
The table below uses 300 PPI to illustrate the arithmetic. These are examples, not universal specifications for those products. Use the actual dimensions and density recommended for your selected product and printing method.
| Example print area | At 300 PPI | Layout check |
|---|---|---|
| 3 × 3 inches | 900 × 900 pixels | Sticker silhouette and small type |
| 10 × 10 inches | 3,000 × 3,000 pixels | Square artwork and placement |
| 12 × 16 inches | 3,600 × 4,800 pixels | Portrait artwork and safe margins |
| 18 × 24 inches | 5,400 × 7,200 pixels | Poster crop, trim, and bleed |
A square image cannot fill a 12-by-16-inch rectangle without cropping, stretching, or leaving space. Preserve its proportions and decide deliberately how it should fit. For transparent graphics, measure the visible artwork too: a large canvas with a tiny drawing in the middle gives the drawing fewer useful pixels.
You may see printers use “DPI” for the requested file density. For the image itself, the useful calculation is pixels per inch. Changing a file's density metadata without increasing its pixel dimensions does not add detail. An “8K” label also does not establish the correct aspect ratio, safe area, or print quality.
Step 7: Upscale the final design and export deliberately
Upscale after the design and wording are settled. Ideogram's Upscale app offers enlargement options based on the source image and chosen upscaler. Some choices can add or reinterpret detail, so compare the result with the approved artwork, particularly around lettering and fine linework.
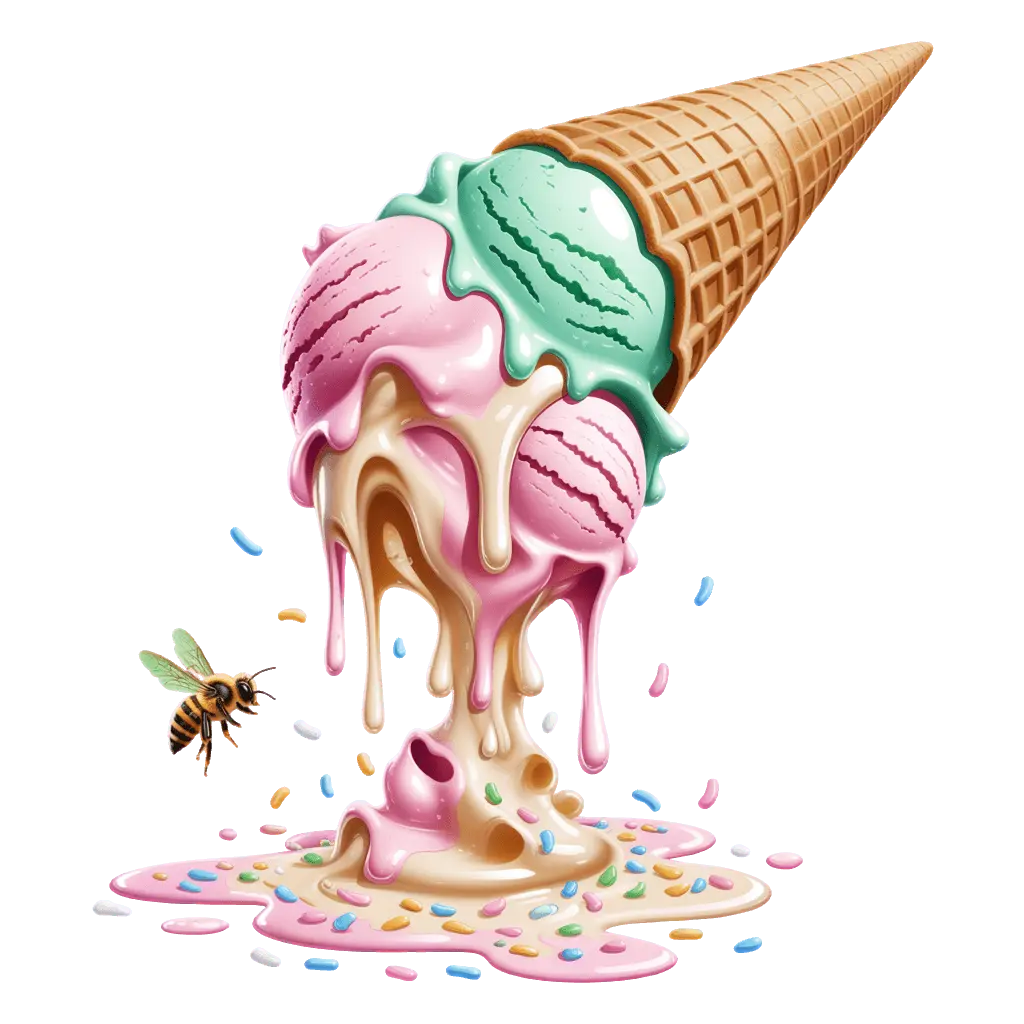
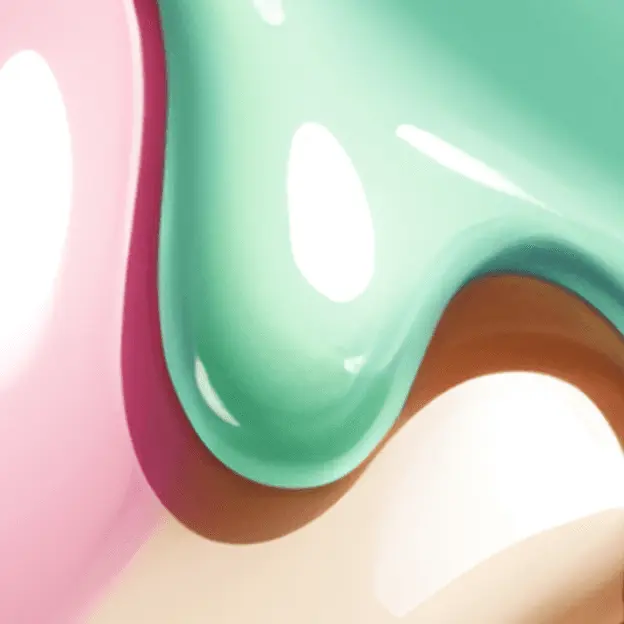
The current upscaling documentation describes scale factors, model controls, and an 8192-by-8192-pixel result limit for the app and Studio. The app can be used with a paid plan or purchased credits; Studio upscaling and the download-menu upscale workflow require a paid plan. Check the cost shown before running an upscale.
- Open the final asset. Confirm that it is the corrected version, not an earlier concept or a product mockup.
- Choose Download on the image page, or Export in Studio. Select the file type and inspect the actual pixel dimensions shown for the chosen size.
- Use PNG for transparency. A JPEG cannot retain a transparent background. The current docs allow free 1K PNG downloads of transparent images; larger downloads need paid access.
- Inspect the downloaded file. Reopen it, check its dimensions and alpha channel, and look for changes to spelling, color, or edges.
The download guide explains the difference between original-size and upscale options. Use the Download controls instead of saving a displayed preview from the page. Then place the export into the printer's template or upload tool and check its warnings and placement.
Keep the printer's file and color requirements beside this step. If it needs a color conversion, a vector file, a cut path, or a particular document format, prepare that separately using an appropriate production tool. Asking for “vector style” changes an image's appearance; the documented image downloads are raster formats.
Step 8: Create a mockup, then check a physical sample
Once the artwork is settled, use it as a reference to explore how it could look on a product. Ideogram's reference image guide explains which models accept references and how they affect generation. The manually selected Transparent models do not accept reference images. Switch to Auto or another reference-capable model for this step.
A tote bag mockup
Use it to visualize your finished artwork on a product.
Use the uploaded artwork as the design on the front of a forest-green cotton tote bag. Show the full bag on a pale studio background in soft daylight. Preserve the design's wording, colors, and proportions.
Treat the result as a concept visualization and inspect it. A generated mockup can alter letters, scale, placement, or garment details. For the listing's exact product configuration, use your print provider's product template and mockup tools, and compare the artwork with the original export.
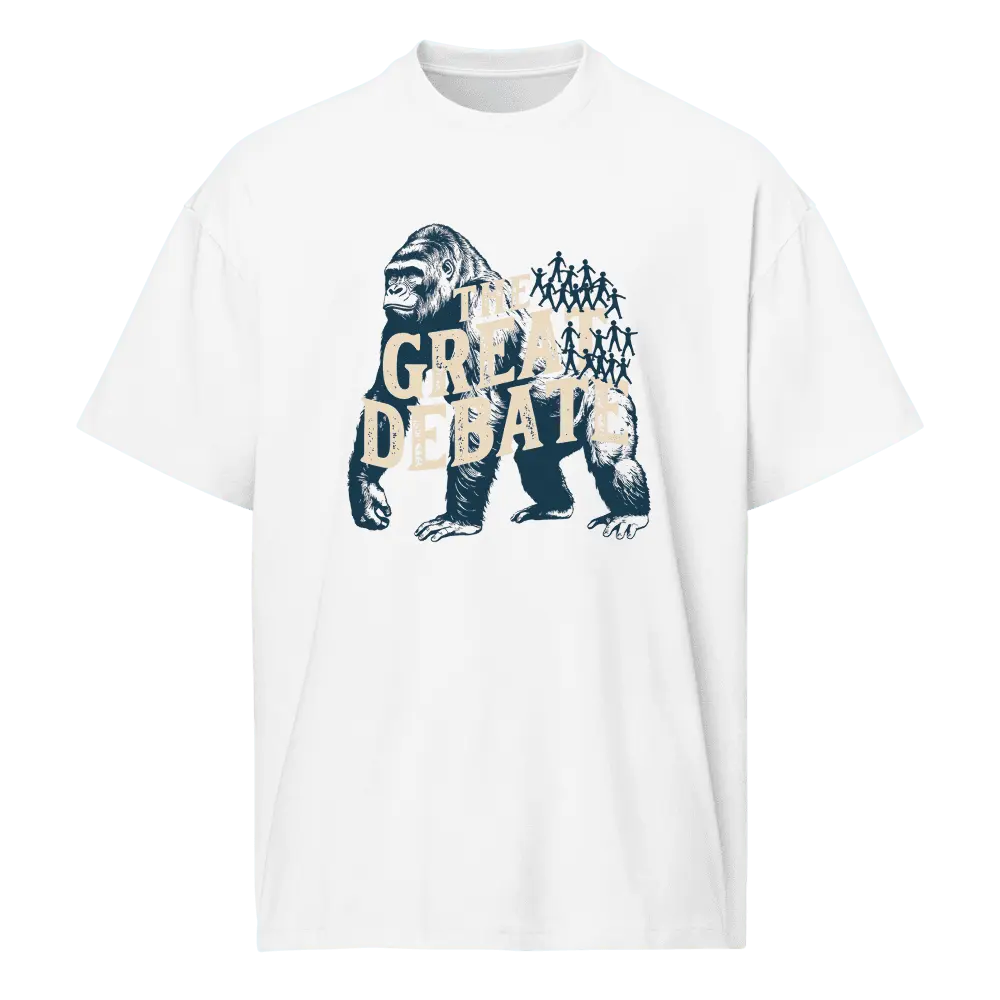
Order a sample before committing to a wider range. Check the feel and size of the print, fine lines, gradients, contrast, and the readability of the smallest wording. Inspect it in ordinary light and, where appropriate, after following the product's care instructions. Record what you would change in the file rather than relying on memory when the next version arrives.
Keep the production artwork, concept mockup, and sample photographs in distinct files. A picture of a shirt belongs in the presentation workflow; the artwork file belongs in the printer's upload step.
Step 9: Build a collection from a repeatable brief
Develop one design thoroughly before making a collection. Record the palette, lettering treatment, outline weight, spacing, and subject scale. These choices give future designs something specific to share, even when the illustration changes.
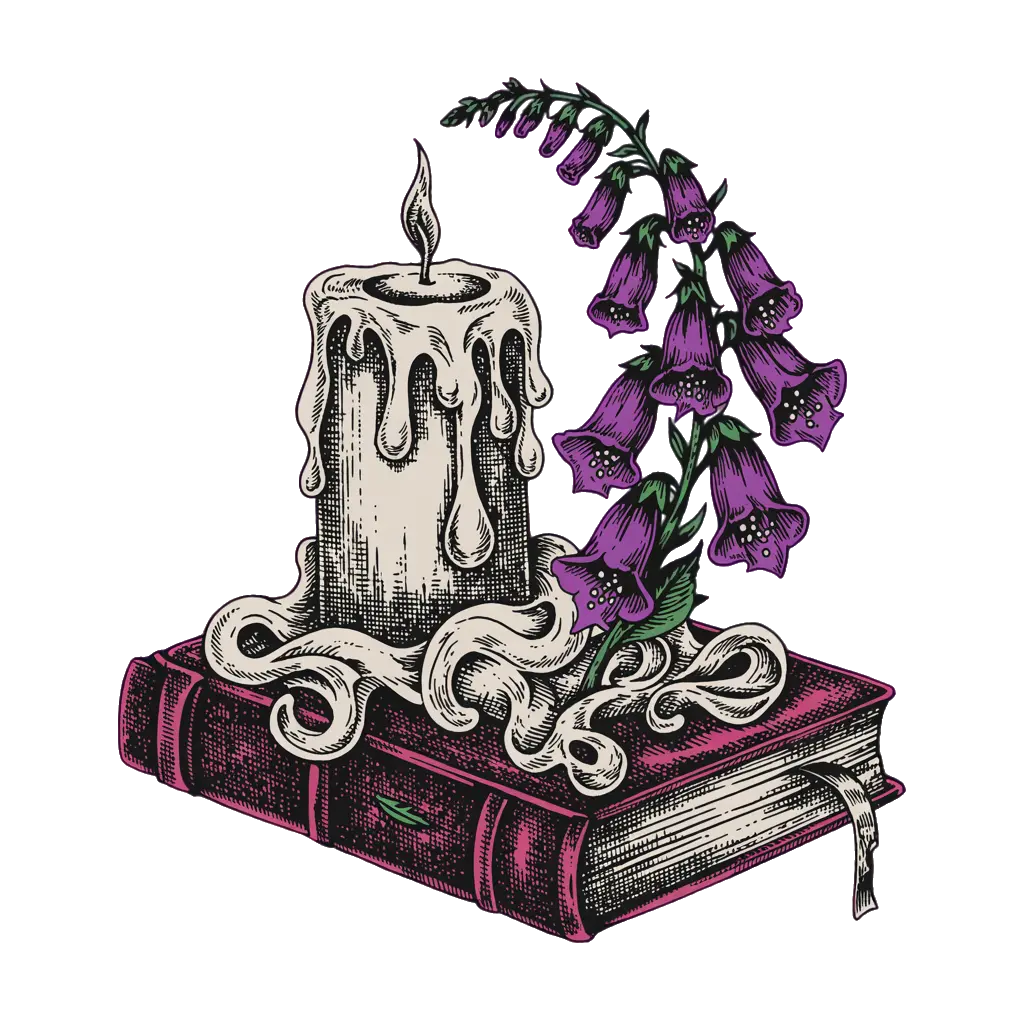
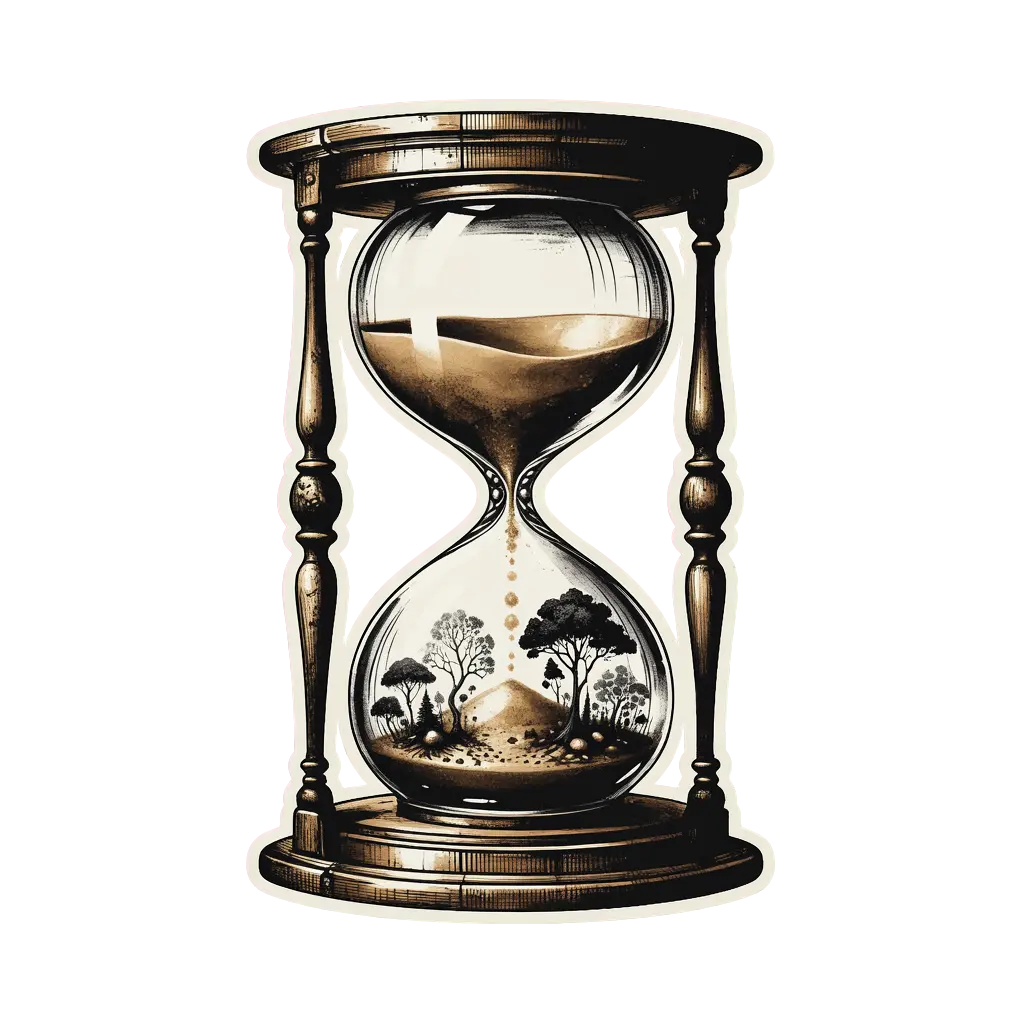
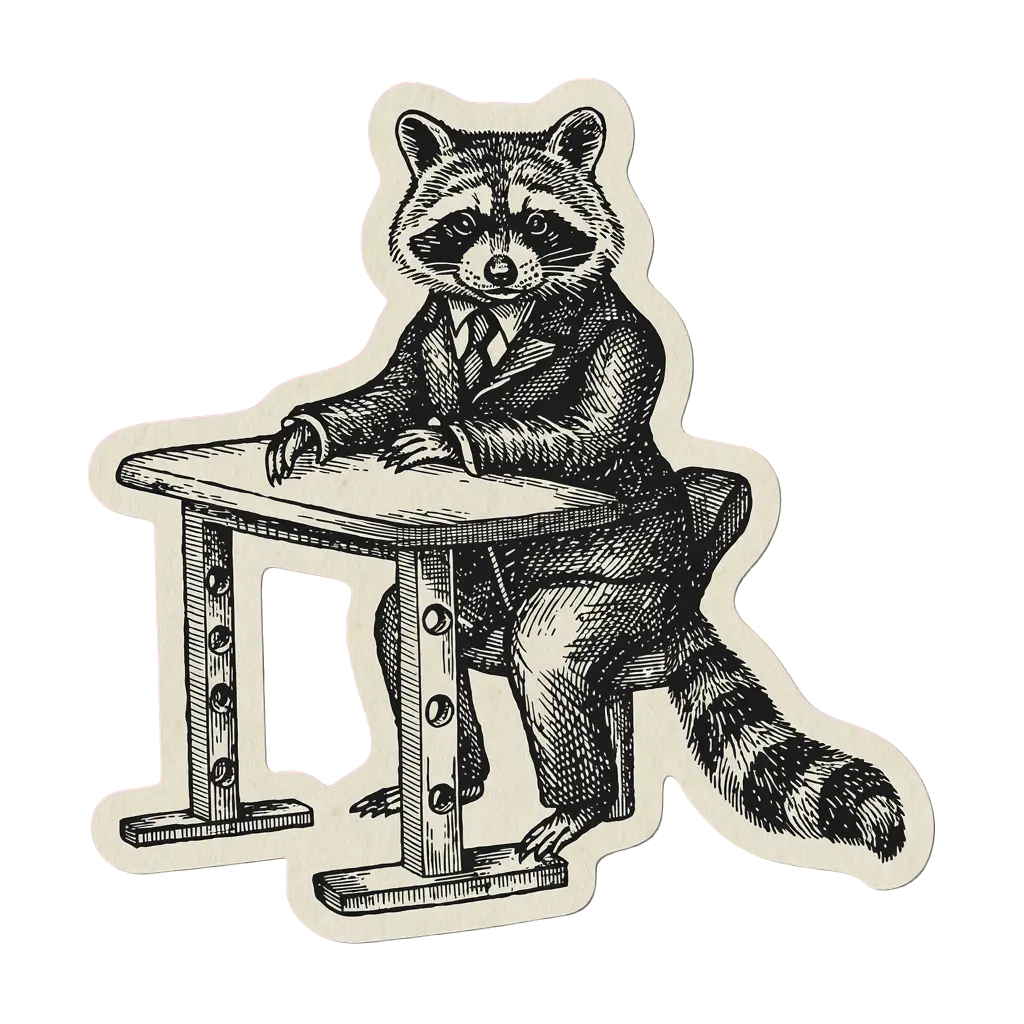
Change one variable at a time: the animal, the short phrase, or the color variant. Reuse your written brief and, where supported, references to guide the visual direction. Check each result independently; a consistent prompt does not guarantee identical lettering or proportions.
Keep a simple file record with the prompt, model, chosen settings, edit version, final pixel dimensions, intended product, and sample status. A name such as “garden-tortoise-navy-shirt-front-v03.png” is more useful than a folder full of “final-final” exports. Keep separate approved files when shirt colors or product shapes require different artwork.
For a larger, established workflow, Batch Generation can process a table of prompts. The current docs list Pro, Team, and Enterprise access and up to 500 prompt rows. Batch supports models through 4.0 and custom models, but not 4.5. Confirm model support before translating a manual workflow into a batch, and test a small set before committing credits to the full collection.
Reference: Fix the problems that show up at print size
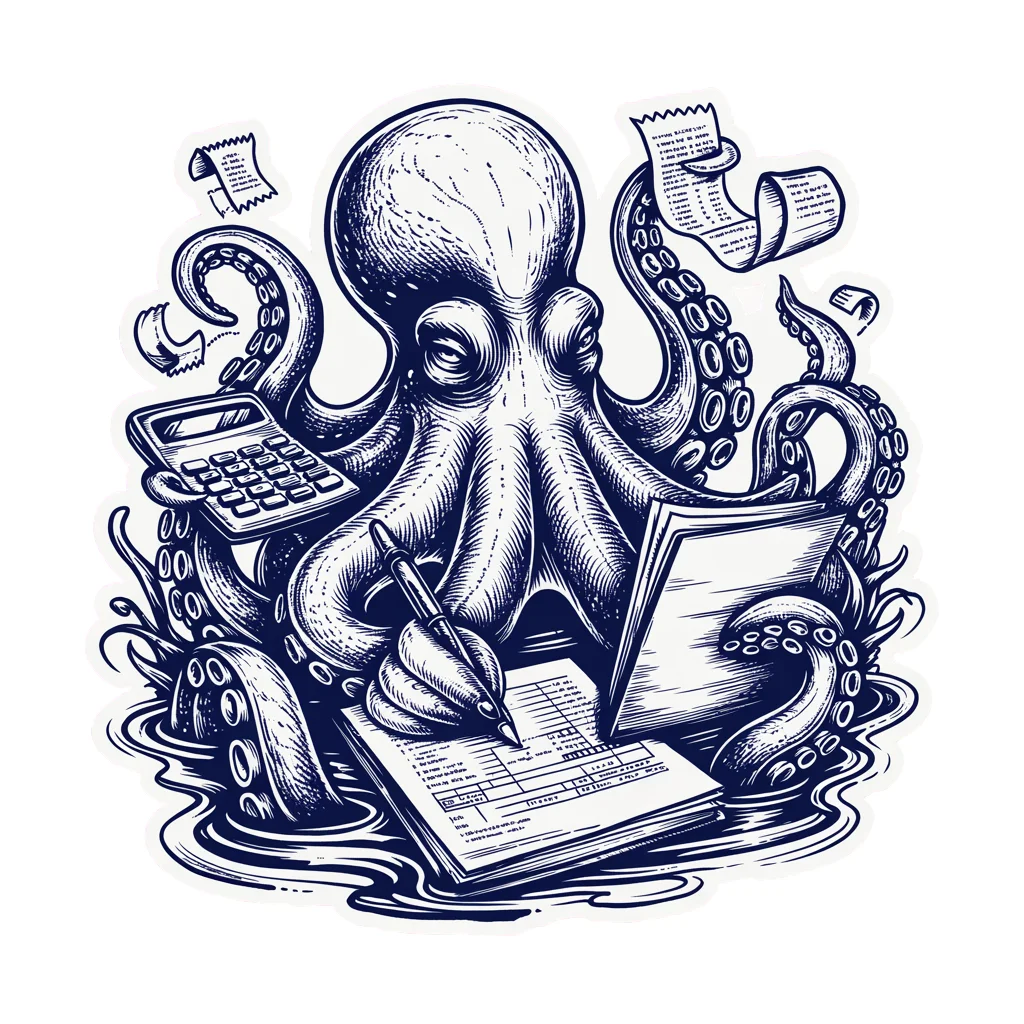
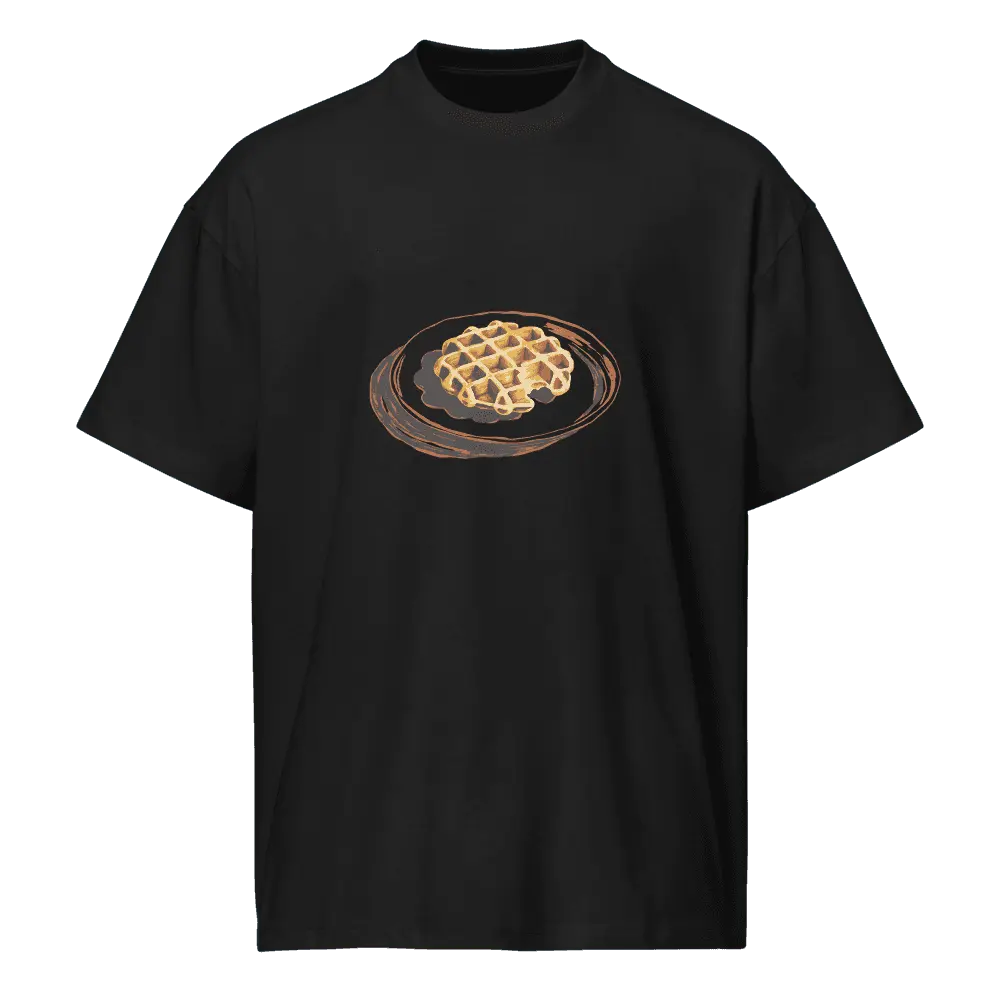
-
A white box surrounds the art
- What to check
- The exported file's alpha channel and format
- Next change
- Use a transparent workflow or remove the background, then export PNG.
-
Letters merge or read incorrectly
- What to check
- Spelling, small counters, and final-size readability
- Next change
- Shorten the phrase, simplify the lettering, or correct it with text layers.
-
The design is blurry on the product
- What to check
- Visible artwork pixels at the actual print size
- Next change
- Prepare a larger export, reduce the placement size, or simplify weak details.
-
Details disappear on dark fabric
- What to check
- Contrast and edge quality against the garment color
- Next change
- Prepare a lighter color variant and inspect it on the matching background.
-
The poster crops important details
- What to check
- Aspect ratio, bleed, and the provider's safe area
- Next change
- Recompose or extend the artwork before fitting the template.
-
A mockup changes the wording
- What to check
- The reference artwork beside the generated image
- Next change
- Use the original production file with the provider's product mockup tools.
Reference: Frequently asked questions
Can I use Ideogram designs on products I sell?
Ideogram's Terms of Service permit commercial uses of outputs subject to the terms. You remain responsible for the content you use and any required third-party permissions. Check the artwork, wording, uploaded references, and your marketplace's rules before listing a product. Permission to use an output does not establish exclusive rights to every element it contains.
Can I start without a paid plan?
You can explore transparent generation and download transparent results as 1K PNGs without a paid plan. That may be useful for a concept, but your product may require a larger file. Higher-resolution downloads, editing options, and upscaling have their own access and credit requirements. Check the current plans for the workflow you need.
Also check visibility before developing an unreleased collection. Free generations are public; Plus, Pro, Team, and Enterprise keep new images private until you publish them. The plans and credits guide explains the current account options.
Do I need an 8K file for every product?
Use the dimensions required for the actual print area. A small sticker and a large poster have different needs. Calculate the pixels for your intended size, inspect the artwork, and follow the printer's template. More pixels cannot correct misspelled text, a poor crop, or weak contrast.
Does “vector-style” mean the download is an SVG?
No, it describes the visual treatment. Ideogram's documented image downloads use raster formats such as PNG, JPEG, and WEBP. If your printing process requires vector paths or a cut line, create and inspect that production file separately.
Can I use the same design on a shirt, mug, and poster?
You can start from the same concept, but prepare a layout for each product. A mug wrap needs a wide composition; a shirt graphic may need transparency; a poster may need a full background and bleed. Recheck the smallest text and the visible artwork's resolution for every version.
Reference: Your final file checklist
- The artwork fits the exact product template, print area, and safe margins. See Step 1: Start with the product and its print area.
- The wording is correct and readable at the intended physical size. See Step 5: Refine the text, edges, and composition.
- The visible artwork has enough pixels for the required print dimensions. See Step 6: Calculate the pixels your print needs.
- Transparent areas are genuinely transparent, with clean light and dark edges. See Step 5: Refine the text, edges, and composition.
- The colors and fine details work against the selected product material. See Step 5: Refine the text, edges, and composition.
- The export meets the printer's format and color requirements. See Step 7: Upscale the final design and export deliberately.
- The production file is the approved artwork, with a clear version and product name. See Step 9: Build a collection from a repeatable brief.
- The artwork and listing meet applicable terms, permissions, and marketplace rules. See the FAQ on commercial use.
- The physical sample has been reviewed before expanding the range. See Step 8: Create a mockup, then check a physical sample.
Start with one product, one strong idea, and one carefully checked file. Once that process works, turn the decisions you made into a repeatable brief for the next design.
Create your first design
Bring a product brief and a clear idea. Build the artwork in Ideogram.